 Nice, bright lighting will really make your Poshmark photos stand out. The item will be easier to see and will look much more attractive. When a buyer is skimming through the main feed, they will be drawn more towards photos that are crisp and clear.
Lucky for us, we really don’t need fancy, expensive equipment to accomplish this. The cameras on most phones are capable of taking quality pictures. You just need to make sure that the environment is set up appropriately for the camera to do it’s job the best that it can.
The cheapest option is to use natural light. Taking pictures outside can be difficult with a phone camera because you usually won’t be able to see the screen very well, if at all. If you have a spot in your home that lets natural light in, set up a station there to take your listing photos. This can be by windows, doors, skylights, wherever the light comes in far enough to illuminate enough space for you to work with.
The limitation with using natural light is that the weather does not always cooperate with us. This won’t really work on rainy or overcast days and it definitely won’t help much at night.
Since I have a full-time job, I typically end up taking photos for Poshmark listings on Friday evenings once the sun is already down.
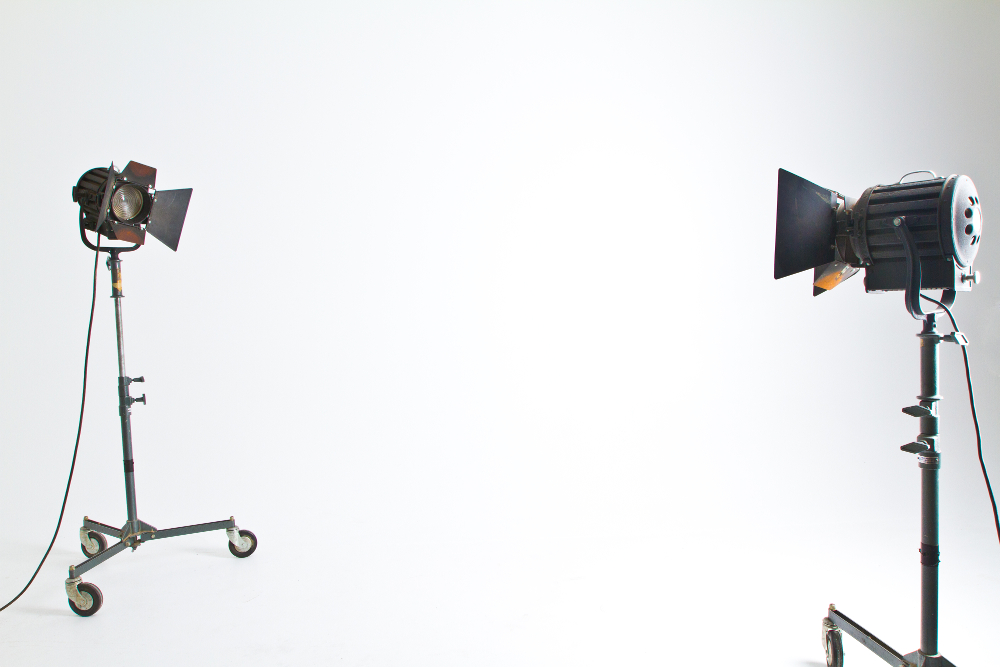
The most flexible solution that will work any time of day and any day of the year is to use a lighting kit. I personally use this one:
It comes with 3 adjustable light stands (and the lightbulbs). 2 of those have the umbrellas to diffuse the light so it’s more even and prevents glare.
I purchased mine new, but Amazon often has a used one or two available at a discount.
I’ve really liked using my lighting kit because they light stands are adjustable and easy to move around the house. The umbrellas fold up nicely and can be angled down close to the stands. I just store them in a corner of my office when I am not using them.
The stands are also very adjustable, so they work for taking all sorts of different pictures. I will photograph some items on a mannequin, some flat on a table and some on a furry rug on the floor. The light stands can work with any of these situations.
When photographing clothes on my mannequin, I will use 2 of the lights. One will be lower than the mannequin and angled up. The second light will be taller than the mannequin and angled down and I find this to illuminate most items very well without many shadows.
If you really wanted to splurge and have amazing photos, there is a lighting kit that also comes with lighting reflectors and 3 different colored muslin backgrounds. Several poshers prefer to have solid white backgrounds so the details of their house don’t distract from the item being listed. I’ve been happy with my sales enough to not bother investing in this, but it’s really up to your personal preference.
Finally, you can also digitally adjust the lighting after you have taken a photo. I wouldn’t recommend only using this method, but it is a great option to touch up photos just a bit if you realize that you want them to be just a touch brighter.
Most photo editing apps will be able to lighten or darken photos and there are many free ones available.
If you are taking the photos directly in the Poshmark app, then go ahead and finish listing the item first. Then, you should be able to see our Poshmark photos saved in a photo gallery on your phone. You can open up the photo on your phone in one of the photo editing apps and adjust the lighting from there. Then go back into Poshmark and edit the listing with the new photo.
As you can see, there are several options available. A lot of it comes down to creativity and being able to find the best solution within your budget. Since the goal is to make money with the app, make sure that you aren’t spending more than you plan on making back from sales. And play around with a couple different options until you figure out what you like best. Remember, you can always edit your listings and make them better later on.
Thank you for the tips! I’m always looking for info on taking better pictures of what I want to sell and this helped me out a lot! And I agree that natural lighting is always the most flattering, but when your busy all day it’s hard to get a picture in during the day!
Rachel
Thanks Rachel! Yes, I wish I had a better way to use natural light. Even if I’m home before the sun goes down, my house just isn’t laid out properly to let much light in, so I had to find other ways. Thanks for stopping by!
These are some great tips. I haven’t heard of Poshmark before but it sounds interesting. If I were to sell clothing I wouldn’t have thought to take good pictures, more like ebay quality pictures, which aren’t always great. So I’m sure this will help me in the future.
Thanks for stopping by Summerly!
Poshmark has a feed of listings that scrolls endlessly, so everything starts looking the same when people are just browsing. And a lot of the pictures are poor quality or just average, so the bright, clear pictures tend to stand out more easily and catch people’s attention.
Thank you! I have been having some issues with this, so this is so helpful!!!
Glad it helped! Thanks Christina!